1. Réamhrá
This manual provides instructions for the assembly, operation, and maintenance of the MONTECH X5M Micro ATX Gaming PC Case. The X5M is designed for high airflow and features pre-installed ARGB fans, a glass side panel, and an integrated GPU holder.
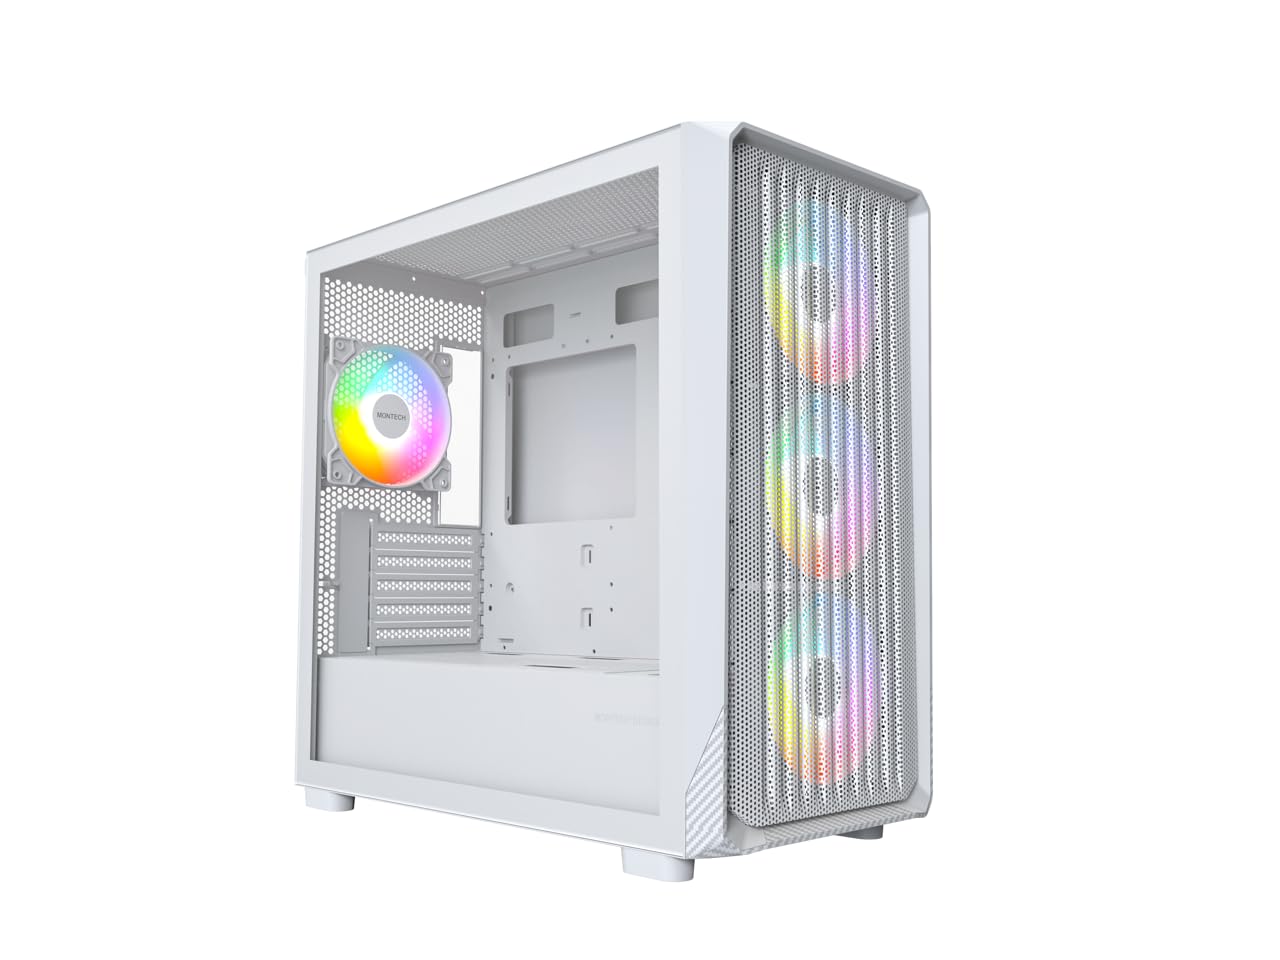
Figure 1: MONTECH X5M Micro ATX Gaming PC Case (White variant).
2. Príomhghnéithe
- Integrated GPU Holder: An adjustable GPU support stand is included to provide physical support for graphics cards.
- Dearadh Ard-Aershreabhadh: Optimized structure for efficient cooling.
- Pre-installed ARGB Fans: Four 120mm ARGB fans are pre-installed for immediate cooling and customizable lighting.
- Painéal Taobh Gloine Tempered: Soláthraíonn soiléir view de chomhpháirteanna inmheánacha.
- Carbon Fiber Print Accents: Aesthetic detailing on the front panel.
- Nascacht Ilghnéitheach: Front I/O panel includes USB 2.0, USB 3.0, USB Type-C, and audio ports.

Fíor 2: Os a chionnview of the MONTECH X5M case highlighting internal layout and ARGB fans.
3. Sonraíochtaí
| Branda | Montech |
| Ainm an tSamhail | X5M |
| Cineál Cás | Túr Lár Micrea ATX |
| Comhoiriúnacht Motherboard | Micrea ATX |
| Lucht leanúna réamhshuiteáilte | 4 x 120mm Lucht leanúna ARGB |
| Tacaíocht Fad GPU | Suas le 405mm |
| CPU Cooler Height Support | Suas le 165mm |
| Tacaíocht Fad PSU | Suas le 230mm |
| Bághanna Stórála | Up to 2 HDDs & 4 SSDs |
| Calafoirt Tosaigh I / O. | 1x USB 2.0, 1x USB 3.0, 1x USB Type-C, Mic & Audio, LED Button, Power Button |
| Modh Fuarú | Aer |
| Tacaíocht Radaitheora AIO | Top: Up to 360mm; Front: Up to 360mm |
| Ábhar | Plastic with Carbon Fiber Accents, Tempered Glass |
| Meáchan Mír | 14.3 Punt (6.49 kg) |

Figure 3: Close-up of the carbon fiber print detailing on the front panel of the X5M case.
4. Socrú agus Suiteáil
Follow these steps for installing components into your MONTECH X5M PC case. Ensure your system is powered off and unplugged before beginning any installation.
4.1. An Cás a Ullmhú
- Carefully remove the tempered glass side panel by unscrewing the thumb screws and sliding it off.
- Remove the rear side panel to access the cable management area.
4.2. Suiteáil Motherboard
- Suiteáil an sciath I/O (mura bhfuil sé réamhcheangailte le do mháthairchlár) isteach san oscailt chúl den chás.
- Align your Micro ATX motherboard with the standoffs inside the case.
- Secure the motherboard using the provided screws.
4.3. Suiteáil Aonaid Soláthair Cumhachta (PSU)
- Place the PSU into the dedicated compartment at the bottom rear of the case.
- Daingnigh an PSU le scriúnna ó chúl an cháis.
4.4. Storage Device Installation (HDDs/SSDs)
The X5M supports up to 2 HDDs and 4 SSDs.
- SSDanna 2.5": Mount SSDs onto the designated brackets behind the motherboard tray or on the PSU shroud.
- Dioscaí Crua 3.5": Install HDDs into the drive cage located under the PSU shroud.
4.5. Suiteáil Cárta Grafaicí (GPU)
- Bain na clúdaigh sliotán PCIe riachtanacha ó chúl an cháis.
- Insert the GPU into the appropriate PCIe slot on your motherboard.
- Secure the GPU with screws.
- Adjust the integrated GPU support stand to provide stability for your graphics card.
4.6. Suiteáil lucht leanúna agus radaitheora
The X5M comes with four 120mm ARGB fans pre-installed. Additional fans or AIO radiators can be installed as follows:
- Barr: Supports 3x 120mm or 2x 140mm fans, or AIO radiators up to 360mm.
- Tosaigh: Supports 3x 120mm or 2x 140mm fans, or AIO radiators up to 360mm.
- ar chúl: Tacaíonn sé le lucht leanúna 1x 120mm.
- Sciath PSU: Supports 2x 120mm fans.

Figure 4: Illustration of airflow within the MONTECH X5M case and the pre-installed ARGB fans.

Figure 5: Diagram detailing fan and radiator support locations and sizes within the X5M case.
4.7. Bainistíocht Cábla
Bain úsáid as na gearrthóga bealaithe cábla agus na pointí ceangail taobh thiar den tráidire máthairchláir chun cáblaí a eagrú. Feabhsaíonn sé seo sreabhadh aeir agus aeistéitic.
4.8. Naisc an Phainéil I/O Tosaigh
Connect the front panel cables (USB 2.0, USB 3.0, USB Type-C, HD Audio, Power Switch, Reset Switch, LED) to the corresponding headers on your motherboard. Refer to your motherboard manual for specific header locations.

Figure 6: Front I/O panel of the MONTECH X5M, showing USB 2.0, USB 3.0, USB Type-C, Mic & Audio jacks, LED button, and Power button.
5. Oibríocht
5.1. Cumhachtú Ar
After all components are installed and cables connected, replace the side panels. Connect your monitor, keyboard, mouse, and power cable. Press the Power Button on the front I/O panel to start your system.
5.2. Rialú lucht leanúna ARGB
Is féidir na lucht leanúna ARGB réamhshuiteáilte a rialú ar dhá bhealach:
- Dedicated LED Button: Use the LED button on the front I/O panel to cycle through 25 built-in lighting modes.
- Sioncrónú Máthairchláir: Connect the ARGB cables to a compatible 5V 3-pin ARGB header on your motherboard. Use your motherboard's RGB software (e.g., ASUS Aura Sync, MSI Mystic Light Sync, GIGABYTE RGB Fusion, ASRock Polychrome Sync) to synchronize and customize lighting effects.
6. Cothabháil
Cuidíonn cothabháil rialta le feidhmíocht agus fad saoil is fearr a chinntiú do chomhpháirteanna do ríomhaire.
- Glanadh Scagaire Deannaigh: Periodically remove and clean the dust filters (located on the top, front, and bottom) to maintain optimal airflow. Use compressed air or a soft brush.
- Glanadh Taobh amuigh: Glan na dromchlaí taobh amuigh le bog, damp éadach. Seachain glantóirí scríobach.
- Glanadh Intí: With the system powered off and unplugged, use compressed air to remove dust from internal components and fans.
7. Fabhtcheartú
- Ní Chumhachtaíonn an Córas Ar Ais:
- Cinntigh go bhfuil an cábla cumhachta ceangailte go daingean leis an PSU agus leis an asraon balla.
- Check that the PSU switch is in the "ON" position.
- Verify all front panel connectors (especially the Power Switch) are correctly attached to the motherboard.
- Confirm the 24-pin ATX and 8-pin CPU power cables are securely connected to the motherboard.
- Níl lucht leanúna ag sníomh / Níl an RGB ag soilsiú:
- Check that all fan power cables are securely connected to the fan hub or motherboard headers.
- Ensure ARGB cables are properly connected to the fan hub or a compatible 5V 3-pin ARGB header on the motherboard.
- If using motherboard synchronization, verify that the RGB software is installed and configured correctly.
- Try cycling through modes using the dedicated LED button on the front panel.
- Gan Aschur Taispeána:
- Ensure your monitor cable is connected to the graphics card (GPU) and not the motherboard's integrated graphics port (unless you are using integrated graphics).
- Athshuigh an cárta grafaicí ina sliotán PCIe.
- Check that the GPU power cables are securely connected.
8. Barántas agus Tacaíocht
8.1. Faisnéis Bharántas
The MONTECH X5M PC Case comes with a Barántas Monaróra 1 Bhliain. This warranty covers defects in materials and workmanship under normal use. For specific terms and conditions, please refer to the official Montech websuíomh nó déan teagmháil le tacaíocht do chustaiméirí.
8.2. Tacaíocht do Chustaiméirí
For further assistance, technical support, or warranty claims, please visit the official Montech website or contact their customer service department. You can find contact information on the Montech websuíomh: www.montechpc.com